This article provides step-by-step guide for setting Cisco ASAv Virtual Appliance on VMware - Workstation, Player or Fusion. Thanks go to the original author of the idea of copying deployed ASAv files from vSphere datastore to a local host.
Prerequisites:
a) VMware vSphere 5.x with the following components
• ESXi Server
• vCenter Server
• vSphere Web Client or vSphere Client for Windows or Linux
b) VMware Workstation or VMware Player or VMware Fusion
c) Cisco ASAv Virtual Appliance - asav922.ova
1. Deploy ASAv with vSphere Client
a) File-> Deploy OVF Template-> select path to ovf template
b) Select configuration (1. vCPU standalone) and Thin Provision.
c) Configure Network Cards.
d) Power on ASAv virtual machine.
When OVF XMML parsing is finished, ASAv reboots. After boot, installation is finished and you can power off a virtual machine.
2. Copy ASAv files from Datastore to Local Host
Click on Inventory and select the option Datastores and Datastore Clusters. Browse Data store and navigate to ASAv directory.
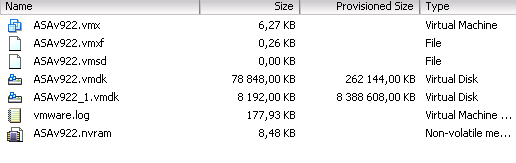
Picture 1 - ASAv Files in Datastore
Download all the files from directory to a local host with installed VMware Workstation.
3. Convert Virtual Disks
The following files were copied to a local host directory.
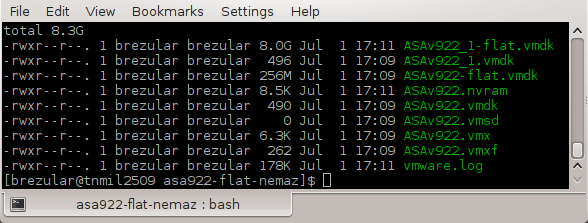
Picture 2 - Size of Virtual Disks Before Conversion
When we check the content of the file ASAv922.vmdk, we can see that virtual disk type is vmfs.
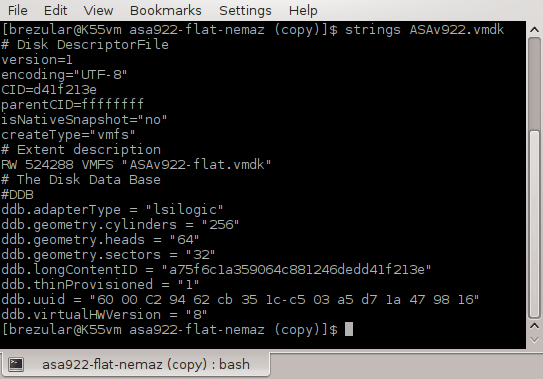
Picture 3 - Virtual Disk Type - vmfs
Although vmfs format can be directly used by VMware Workstation we will convert it to monolithicSparse type in order to reduce its size. To do this we will use offline disk manipulation utility - vmware-vdiskmanager that is included in VMware Workstation.
Use the commands bellow to convert virtual disks to single growable virtual disks.
$ vmware-vdiskmanager -r ASAv922.vmdk -t 0 ../ASAv922.vmdk
$ vmware-vdiskmanager -r ASAv922_1.vmdk -t 0 ../ASAv922_1.vmdk
Replace old virtual disk with the new ones and delete flat vmdk files that are not needed anymore.
$ mv ../ASAv922* .
$ rm *flat*
4. Import Configuration File
Start VMware Workstation and navigate to the Files -> Open. Select path to vmx file. VMware Workstation should be able to import settings successfully. Once you power on the virtual machine, click an option I copied it.
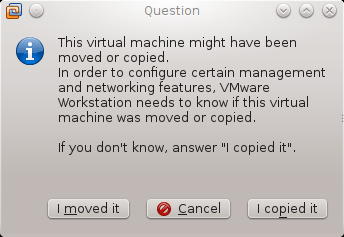
Picture 4 - Dialog Menu
End.